
Homemade Canister Scuba Diving Torch
| Page 1 | Page 2 | Page 3 |
What you need to know before ordering parts
and building the light. |
How to build the canister dive light with lots
of pictures. |
Dive Light Genie Electronics Info. |
This is second page on the diy canister dive light. The first one covers the design concept and the different choices you have when building the light. If you are making a LED dive light then any differences are covered on this page on how to install a LED into a Mag-Lite.
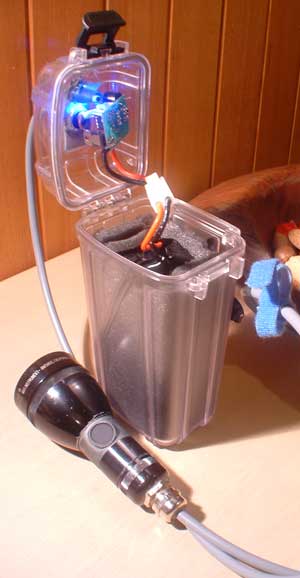
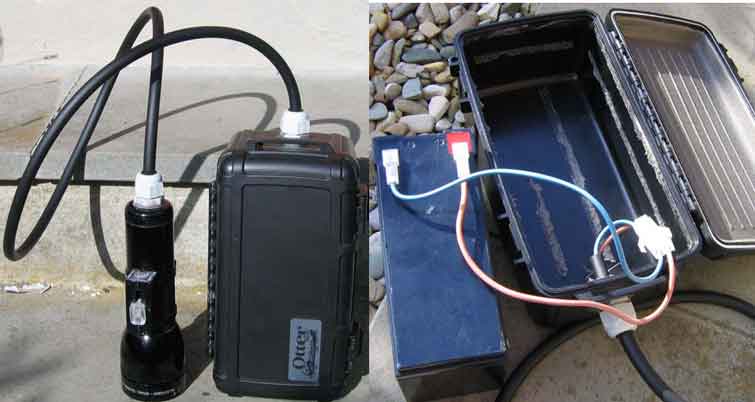
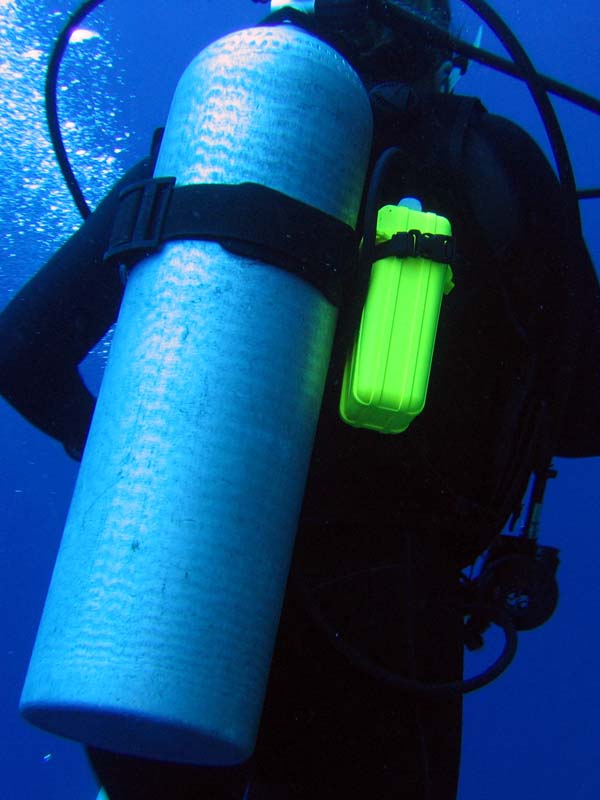
The battery pack is held in place by putting foam inside the otterbox and then pressing the battery into place. Whilst the canister is garenteed to 30 meters by otterbox, with the additional bracing the battery gives this will allow it to go a little further. I've taken mine to 49 meters currently and it did not leak and worked fine over the dive. The only thing left for me to do now is to build a stronger stainless steel belt clip, as currently I just place the canister into my bcd pocket during the dive and have not needed to hip mount the canister.
The canister of the dive light is open showing how the battery is unclipped for charging. I leave the battery in the canister during charging as the cells can still vent gas through the foam.
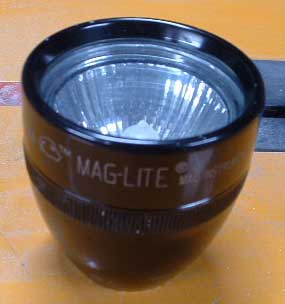
Heres a maglite in pieces before the mod is done to fit a mr16 halogen globe.
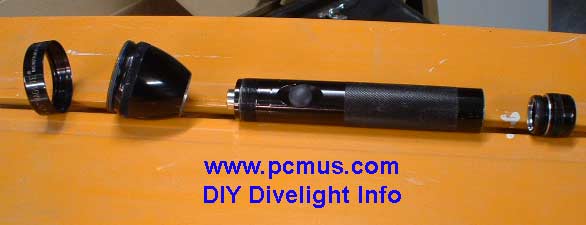
Heres the maglite after the body is cut to remove the switch. I wanted a very short light so I cut it back very short to keep the light head compact. I almost cut it too short as the piezo switch that I installed had very little room between the thread for the end cap and the globe housing area. On a C cell maglite I would cut where the knurling of the handle ends. Around another 25mm would have been a nice length for this scuba diving torch.
No I'm not that bad with a hacksaw :) , the removal of the anodising is deliberate to help jb weld stick. A smooth surface makes it harder for jb weld to do its job of making the maglite torch water-proof.
A hole is drilled in the maglite end cap.
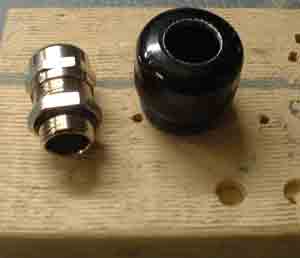
The end cap has the cable gland glued in with JB Weld after the anodising is ground back and made rough to help the glue stick, the same was done for the body/handle as can be seen in the above photo.
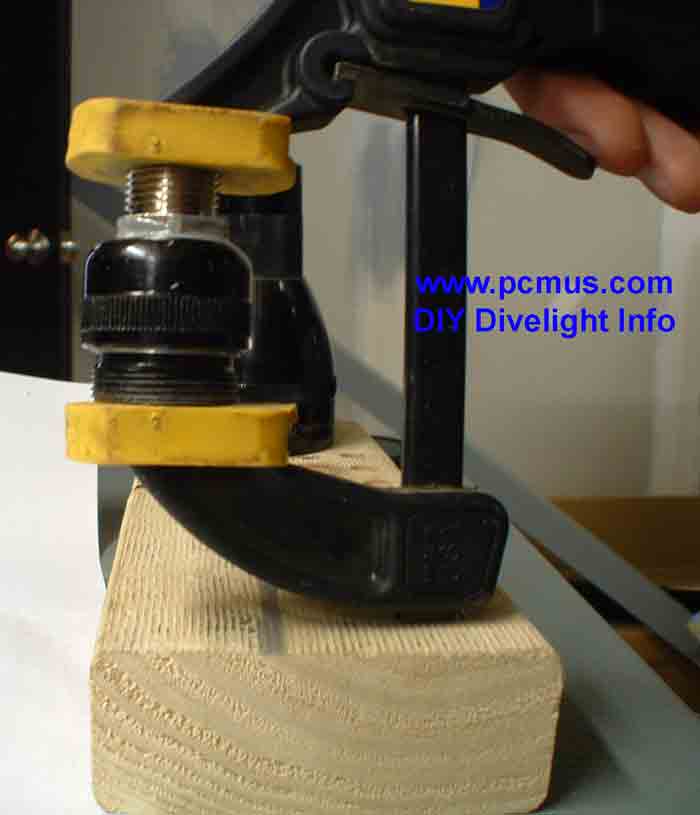
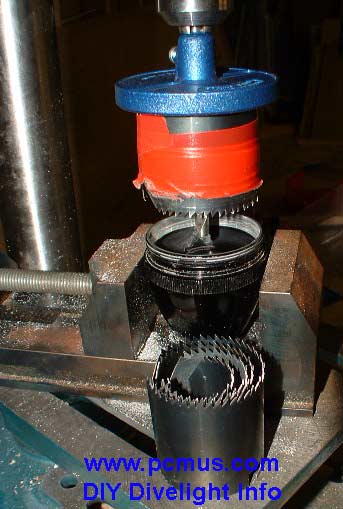
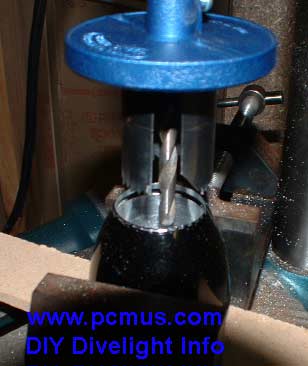
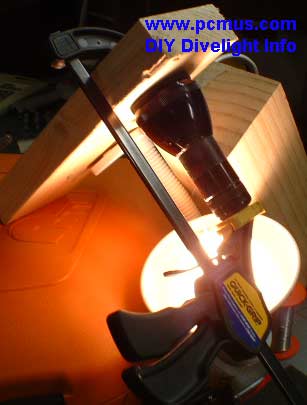
Whilst the glue dries the other end of the maglite is moded to fit the globe. The end has to be drilled so the globe sits inside low enough for the new glass and oring. I used tape to hold the holesaw to the correct size and then drilled through some wood and left the wood inside the teeth to brace the holesaw. This means the teeth can't become smaller or larger. This is very dangerous so please dont try it unless you know what your doing with these tools and accept responibity. A good clamp like in the picture is essential for safety and a good finish as you can bolt the vise to the drills bench. If using an LED, you can skip this step and follow the updated LED design here provided that you check that the stepped glass lens has enough clearance.
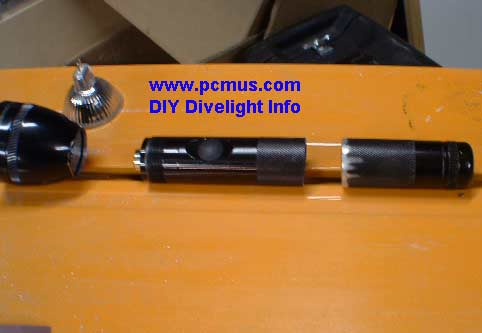
The thread from the maglite head is removed very slowly so the body of the maglite can fit inside after the switch is cut off. Notice the wood in the vice protecting the soft Alu from being damaged. If using a piezo switch, you can choose to skip this step and follow the updated LED design here and use the hole for the maglite switch to mount the piezo. However you may want to reduce the length of the battery tube by doing a similar thing to the end cap as un-modified the tube is too long.
Heres the thread removed ready for the JB Weld glue.
The body and head is glued. Use wood to protect the end of the maglite as this becomes a oring seal surface in the dive light.
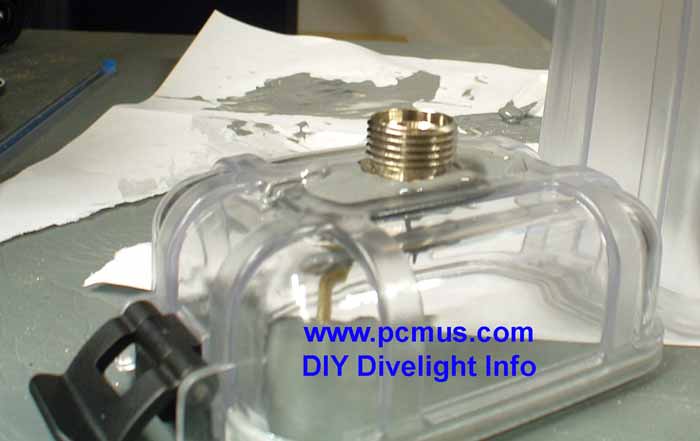
The second cable gland is glued to the otterbox which fits inside the ribbed area of the canister. The cable gland is sitting next to it. I ground two sides down a little on the gland so it would fit the ribbed area of the otterbox. Then the whole area around the gland is filled with JB Weld to ensure a good seal. 5mm+ of jb weld holds it in place with no need for orings or tapped holes.
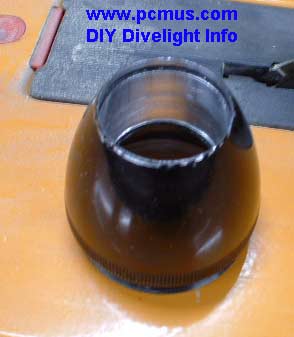
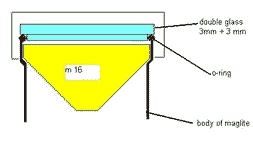
Heres the glass lens glued together so an oring can be placed around the smaller piece of glass. You can see the globe sits inside with a few mm clearence for when the oring compresses allowing the glass lens some freedom to move under pressure.

The larger top piece of glass can be purchased from www.zbattery.com The two pieces of glass are then glued together very quickly with selleys crystal clear araldite. For a clear finish you need to have the glass positioned and clamped in under 2 minutes. After the glue has half hardened I unclamped the lens and with a sharp blade cleaned up the excess glue to allow a good oring seat. You dont need much glue as water should not get past the oring and the inner piece of glass is only to hold the oring in position and shape.
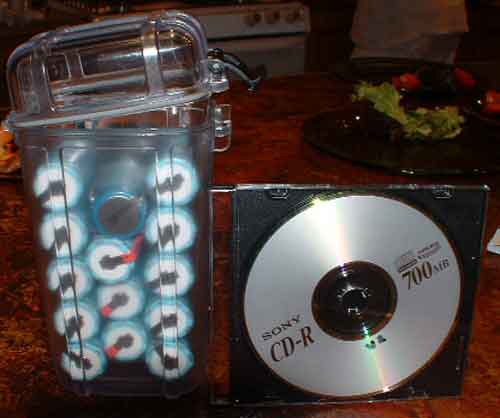
How the premade battery pack from batteryspace fits inside the otterbox with no wasted space and plenty of room at the top for the electronics and the wiring with connectors. The hold the pack in place I used foam which was compressed to allow the battery into the canister and the foam holds it in place very firmly. The non clear otterboxes actually come with foam preinstalled in them and some come with clear tops only.
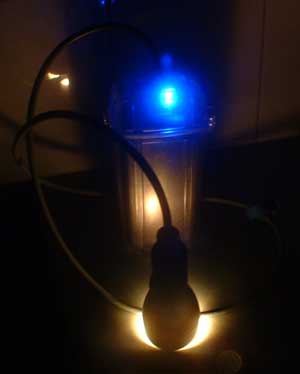
A picture of the LED which allows my buddy to identify me quickly underwater at night time if we are diving in a group.
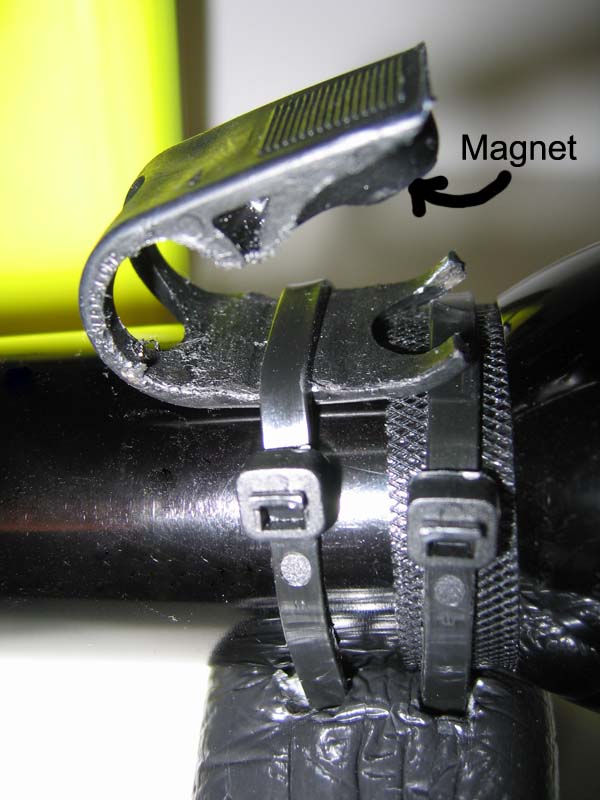
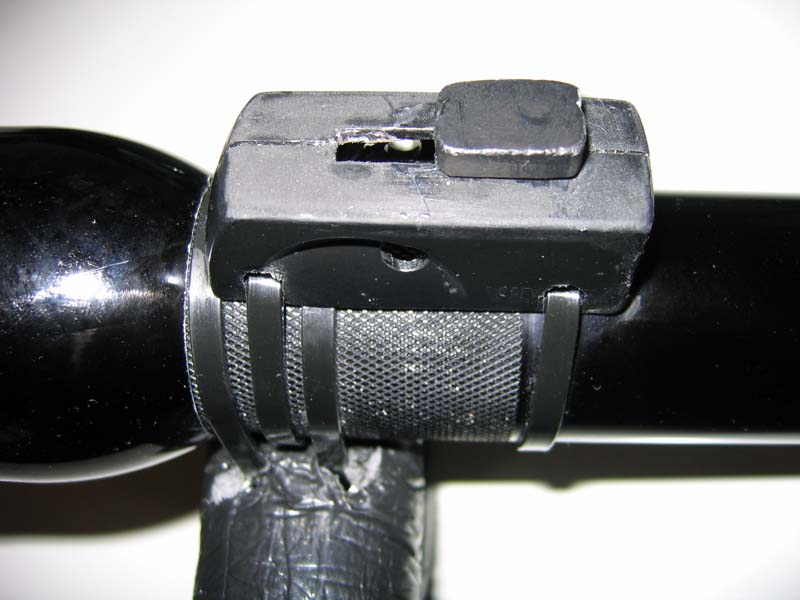
Here are two lights built by claustrox. His first light was a S.L.A with a reed switch that slides, his second was a much smaller light using nimh and a spring mounted magnet and reed setup.
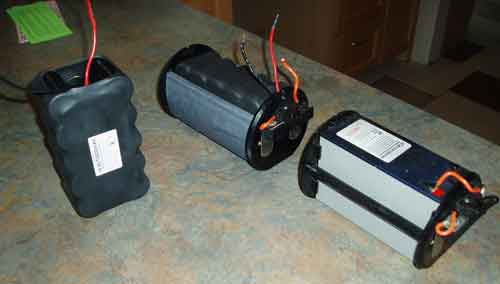
Dive-Rite Halogen canister light upgrade with 16.8volt battery packs and a dive light genie fitted in the lid to work with twist switch in between the battery terminals.
In this picture you can see an old SLA battery in its cradle that slides into the canister. The battery was thrown away and custom packs of 14 D sized nimh cells were wired up by batteryspace.com and fitted into the old battery cradles.
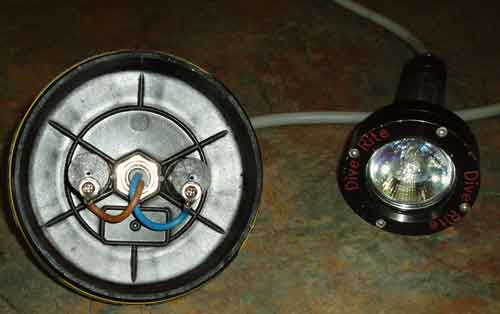
This pic shows the canister lid just before the DL genie was fitted.
Acknowledgements
- MSN Divelight group, some of the ideas behind modifying a mag-light came from members of this group.